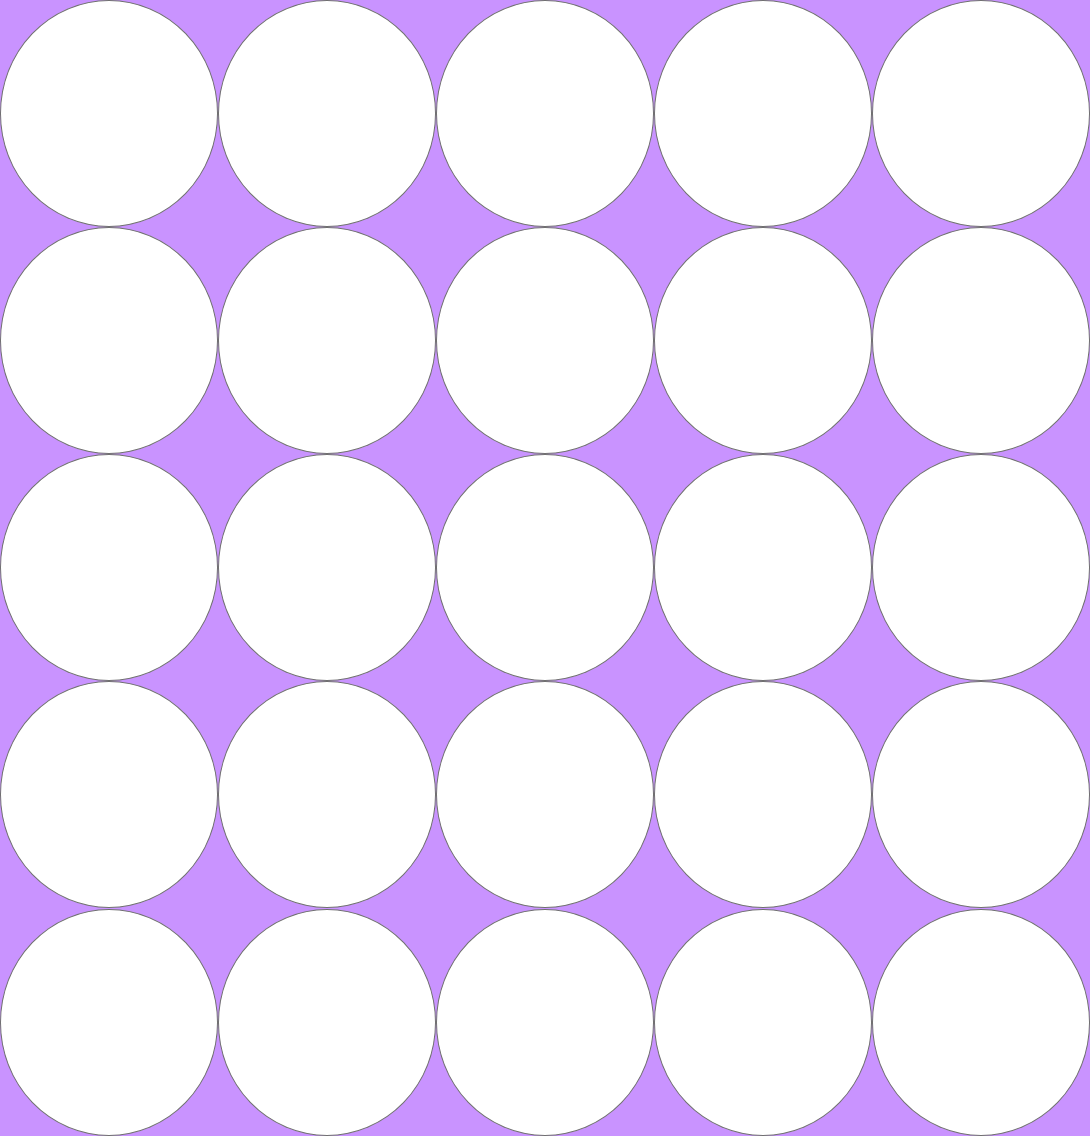
- Open the AdobeXD program
- Create a new file by navigating to the blue button near the top left that says "New File" and clicking that button.
- Adjust the dimensions of the file such that the width is 1090px and the height is 1136px.
- Naavigate to the circle icon on the left border of the program and click that icon.
- bring your cursor inside the file, click and drag so that you get approximately a circle.
- On the right side, adjust the size of the circle such that its width is 218px and its height is 227px.
- Move the circle to the top left corner of the file. The top and left edges of the circle should snap to the inner edges of the file.
- Click the circle
- Copy and paste the circle directly below so that the top edge of the new circle snaps to the bottom edge of the previous circle.
- Repeat Step 9 three more times until you haave a column of 5 circles
- Select the column of circles
- Copy and paste the new column to the right of the previous column.
- Adjust the new column so that the left edge of the new column snaps to the right edge of the previous colummn.
- Repeat Steps 12-13 three more times until you have 5 adjacent colummns of 5 circles. The right side of the last column of circles should touch the inner right edge of the file.
- Click the text just above the file that says "Web 1920 - 1".
- Navigate to the "Appearance" section on the right side of the program. Click the small rectangle to the left of "Fill".
- Change the background color to light purple.
- Navigate back to the text that says "Web 1920 - 1". This time, double click that text so that the text becomes highlighted.
- Type your first name in the box to replace the text.
- In the top bar of your screen, hit File --> Export --> All Artboards
- In the pop-up window, hit the button that says "Export All Artboards". Leave all settings as is (should be defaulted to PNG format, 1x export size).
- Email your PNG file to me at njamison@gmu.edu
My Drawing

Classmates' Drawing

Classmates' Drawing


